

How to Use Image Target using Vuforia Engine AR(Augmented Reality) in Unity?(Part-1)


Hello Everyone,
Today we are going to learn how to use Image target in Unity using Vuforia engine AR.
In the first step, we will create a new 3D project using Unity Hub. Name the project according to your convenience.

Unity Setup
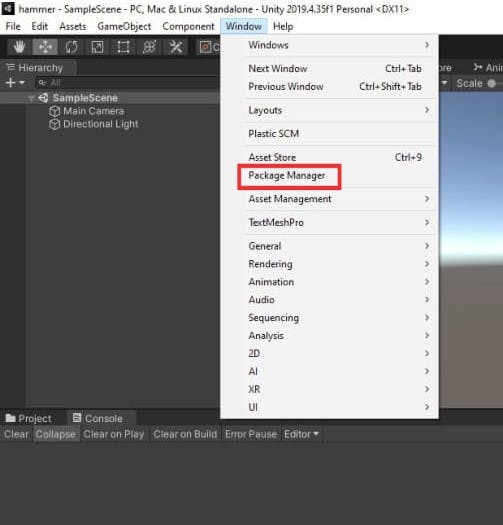
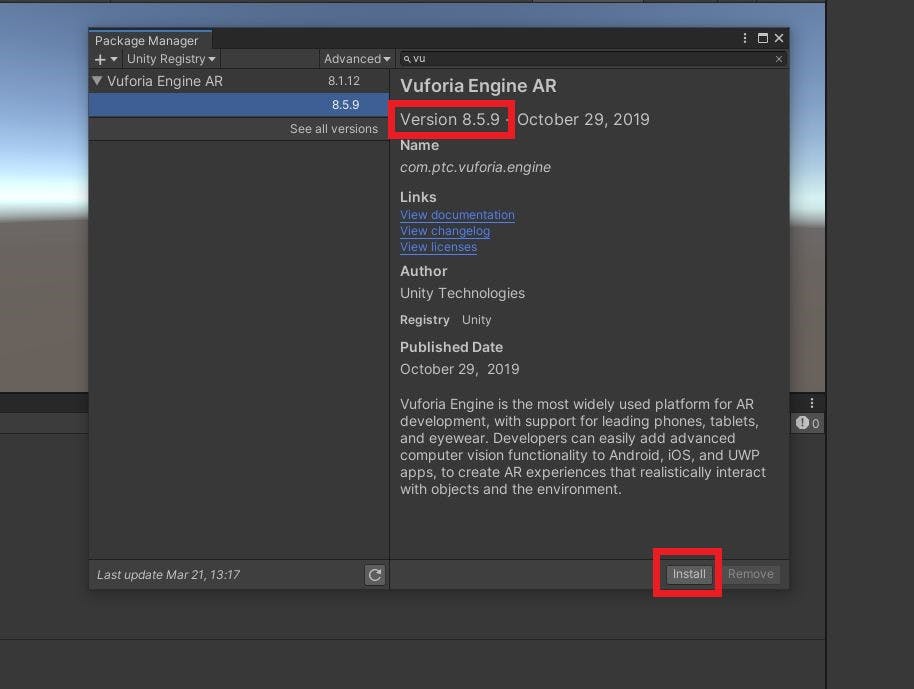
In the second step, we will download vuforia engine AR (8.5.9). Go to window<package manager<Vuforia Engine AR, using dropdown menu select version 8.5.9.
Be patient! It will take some time to load the packages.
After Successfully installing Vuforia Engine AR 8.5.9, go to this website: developer.vuforia.com
Vuforia Setup
When you landed on the homepage of the given website
- Register yourself
- verify your e-mail
- login
After you got logged in click on Develop option, then you will land on this page:
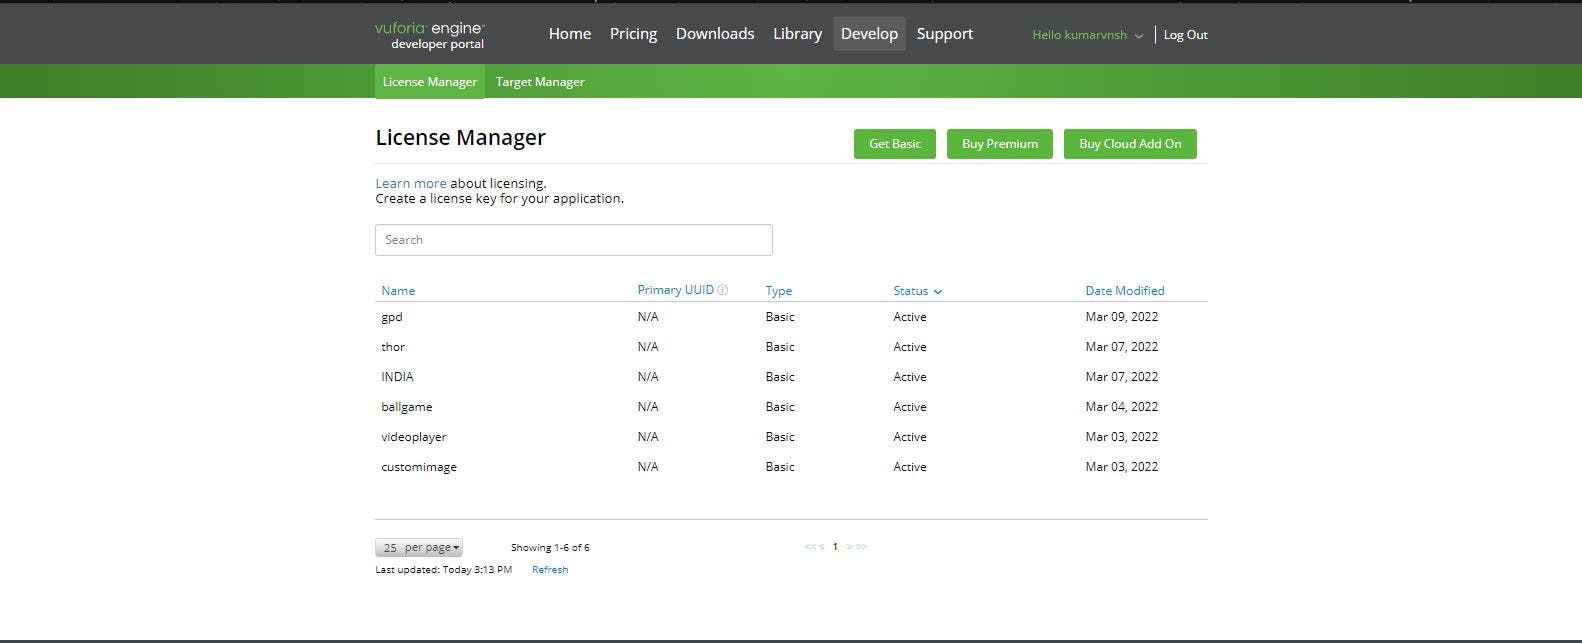
There are two options, the first one is License Manager and the second one is Target Manager.
License Manager: It provides and manages the license keys which are required when you are developing or deploying the app.
Target Manager: It is a web-based tool that enables you to create and manage target databases on vuforia's Developer portal.
How to create a License Key
- In the License Manager, click on Get Basic.
- A new page will open like this
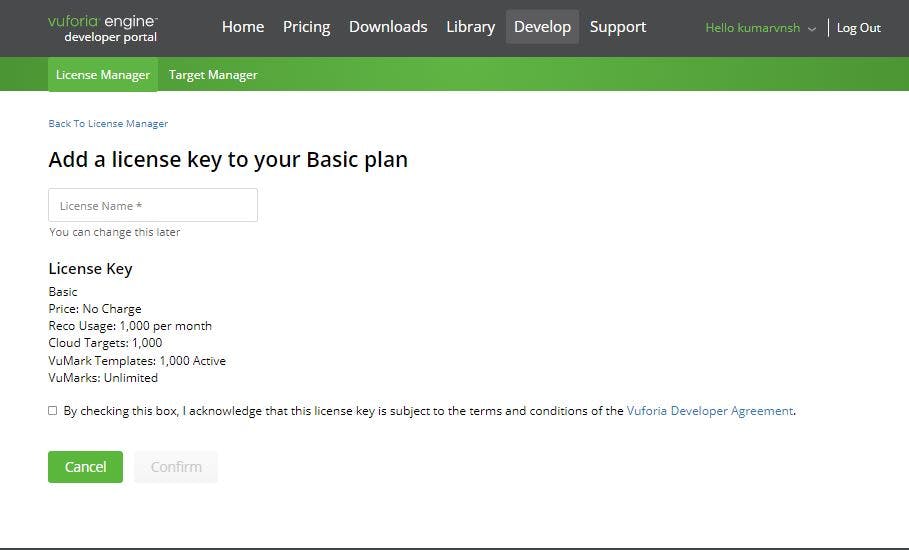
Enter a name for the license at your convenience. (I prefer to name the license after the project name only).
check the checkbox, and click on confirm.
Your license key is added to the license manager.
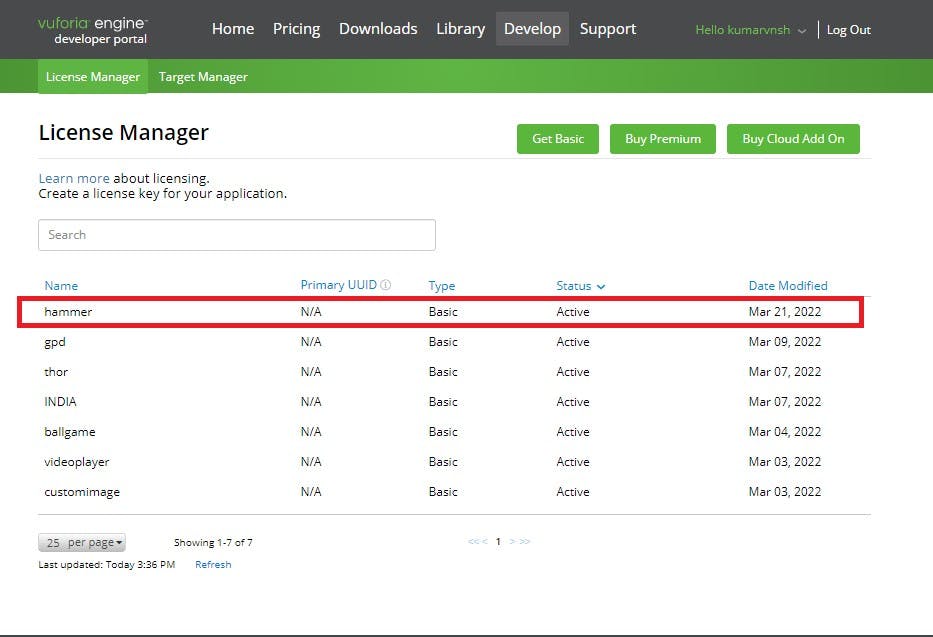
When you click on your license, this page will appear:
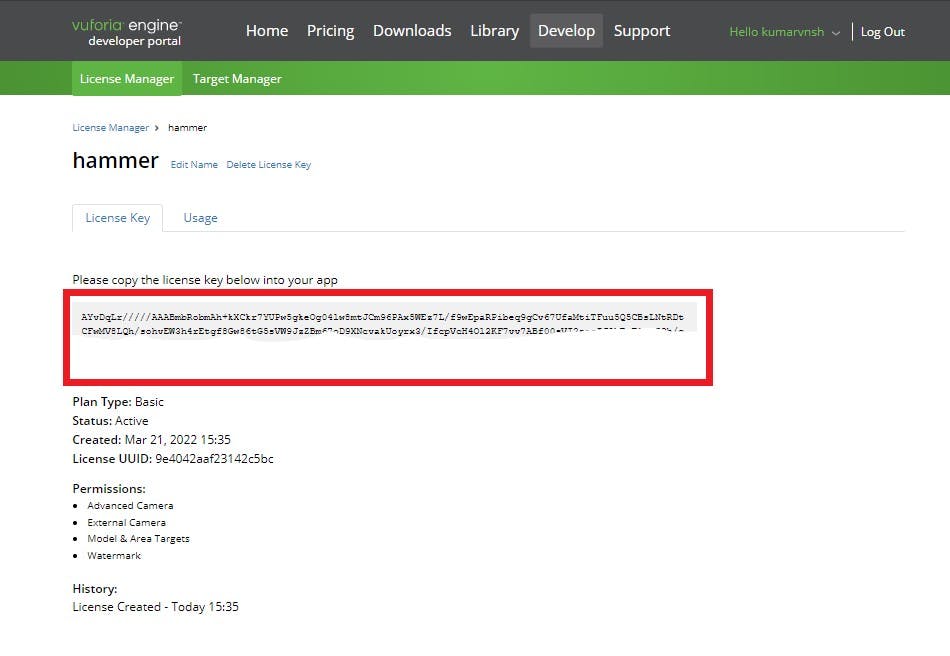
The highlighted part in red is the license key.
How to create a Image Target
On the right of License Manager, there is another option Target Manager. When you click on the target manager, this page will pop up:
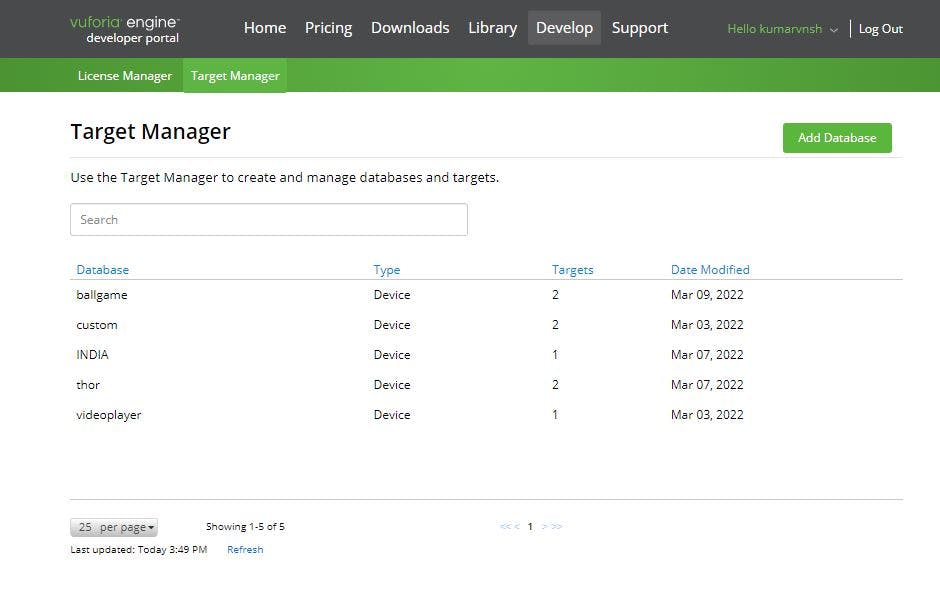
1.On the top right corner of the page there is an Add Database button , click on the button. This page will Pop up:
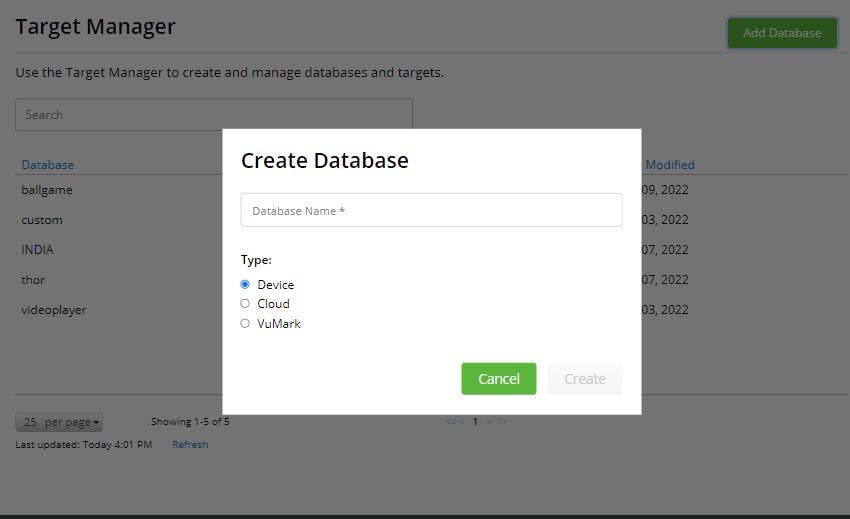
2.Click on device and name your database.After this your database will show in the Target Manager, like this:

3.Click on the Database you created, something like this will appear:
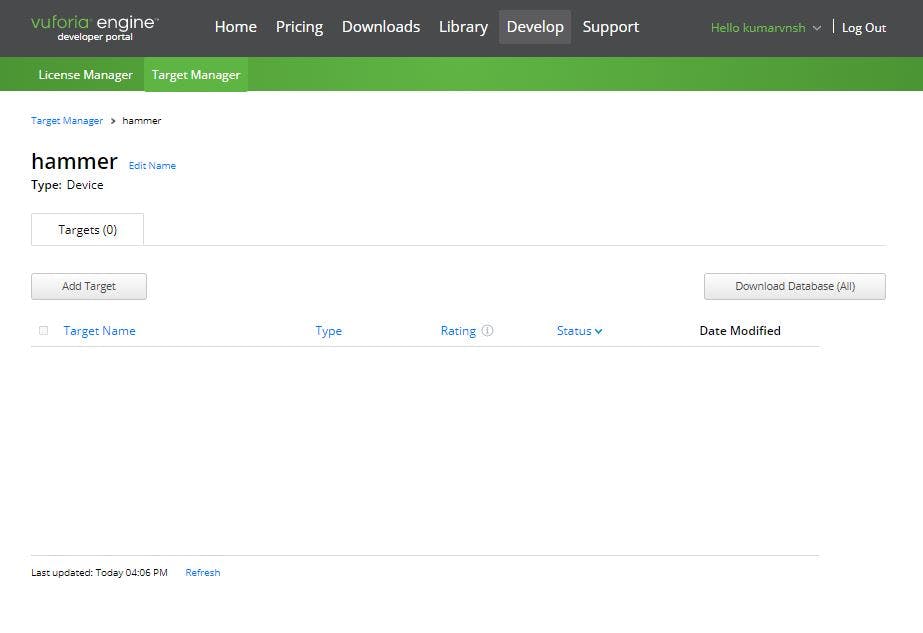
4.Click on Add Target
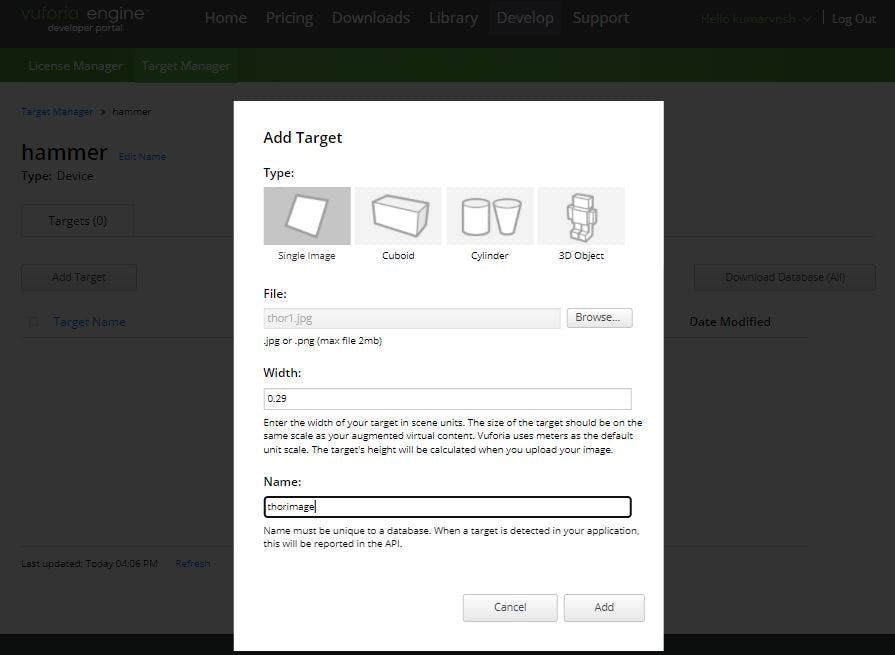
5.A pop up will open , asking for different inputs
  ```
  a.In Type select single Image
  b.choose a image according to your choice.
  c.In unity measurements are counted in meters.So we if you have a A4 size
     printout or image then its size will be (0.21 x 0.29) meters. so you
     have to enter the larger side measurement. So we will enter 0.29 in
     the Width option.
  d. At the last name your target of your own choice.
```
At the end it should look like this:
6.Now click Add.
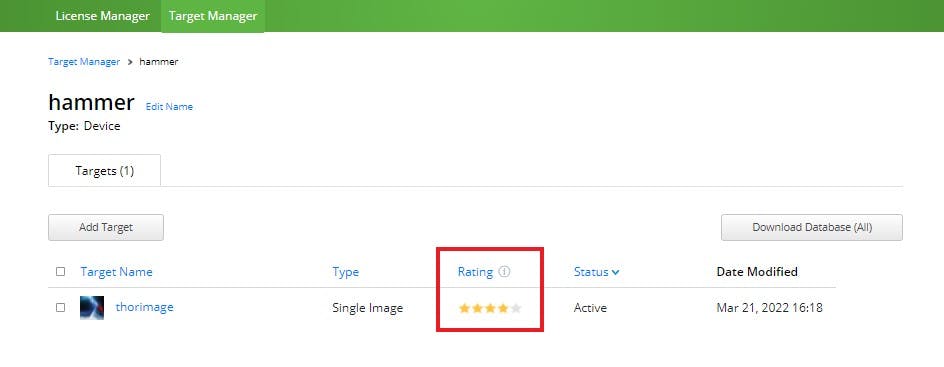
7.After Traget is uploaded, Select the image target and click on the download database.
[NOTE: The Augmented Rating of the image should be 4 stars or more.]
8.A .unitypackage is installed .
Thats all for Part-1 , we will see rest of the topics in Part-2.